My gaming PC runs hot. What are common cooling upgrades for better performance?

A gaming PC that runs hot isn’t just a minor annoyance; it can lead to thermal throttling, reduced performance, shorter component lifespan, and even system instability. When your CPU or GPU reaches critical temperatures, it automatically slows down to prevent damage, directly impacting your gaming experience. Fortunately, several common and effective cooling upgrades can significantly improve your PC’s thermal management.
Understanding PC Heat and Airflow
Before diving into upgrades, it’s essential to understand where the heat is coming from and how it’s supposed to leave your system. The primary heat generators are your CPU and GPU. Airflow within your case is critical for drawing in cool air and expelling hot air. An inefficient airflow path, poor fan placement, or insufficient cooling components can all contribute to high temperatures.

1. Upgrading Your CPU Cooler
The CPU is often the first component to show signs of overheating, especially during intense gaming or demanding applications. The stock cooler that comes with many CPUs is often sufficient for basic tasks but struggles under heavy loads. Upgrading your CPU cooler is one of the most impactful changes you can make.
Air Coolers
- Larger Heatsinks and Fans: Aftermarket air coolers feature larger heatsinks, often with multiple heat pipes, and more powerful fans. This allows for a greater surface area to dissipate heat and more efficient removal of hot air.
- Pros: Generally less expensive than liquid coolers, easier to install, and less prone to failure (no pump to break or liquid to leak).
- Cons: Can be quite large, potentially blocking RAM slots or interfering with side panels.
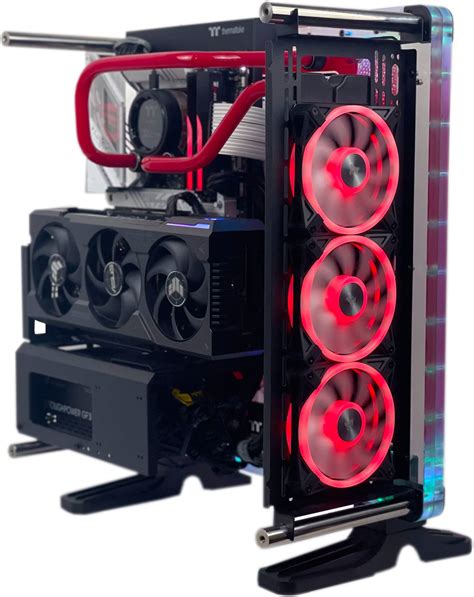
Liquid Coolers (AIO – All-in-One)
- Closed-Loop Systems: AIO liquid coolers come pre-filled and sealed, consisting of a pump/cold plate that sits on the CPU, tubes connecting to a radiator, and fans attached to the radiator.
- Pros: Excellent cooling performance, especially for overclocked CPUs; often have a smaller footprint around the CPU socket, allowing for better RAM clearance; aesthetically pleasing.
- Cons: More expensive, can be noisier (pump hum), and a slight risk of leaks (though rare with modern units).
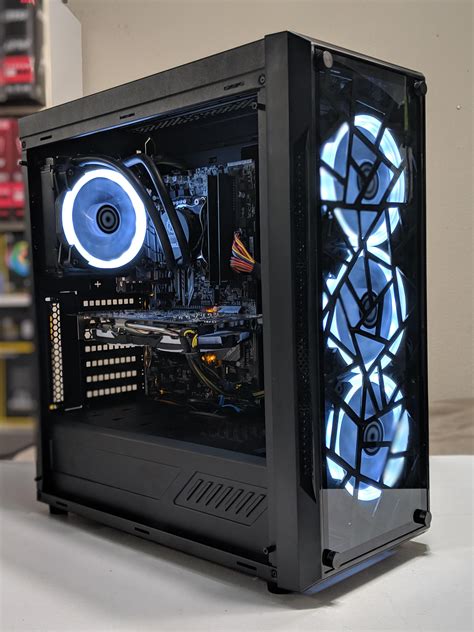
2. Enhancing Case Fan Setup and Airflow
Even the best CPU cooler won’t perform optimally if your case’s overall airflow is poor. Case fans are responsible for moving air through your system.
- Adding More Fans: Most cases have mounting points for more fans than initially included. Adding additional intake fans (front, bottom) and exhaust fans (rear, top) can drastically improve air circulation.
- Fan Placement: Ensure a balanced positive or neutral air pressure. Typically, more intake than exhaust fans (positive pressure) helps prevent dust buildup, while more exhaust (negative pressure) can quickly expel hot air but might pull dust in through unfiltered openings. A common setup is intake at the front/bottom and exhaust at the top/rear.
- Upgrading Fan Quality: Stock case fans are often basic. Investing in higher static pressure fans (good for radiators or restrictive areas) or high airflow fans (good for open areas) from reputable brands can make a difference in both cooling efficiency and noise levels. PWM (Pulse Width Modulation) fans allow for precise speed control.
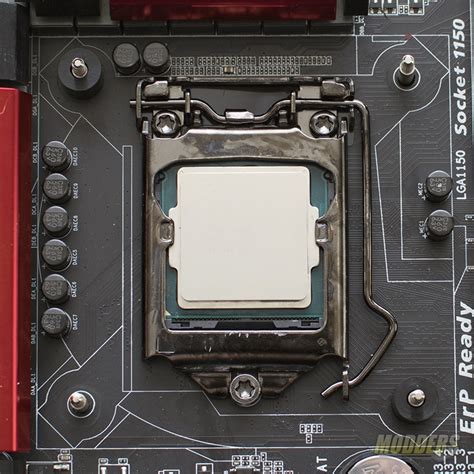
3. Replacing Thermal Paste
Thermal paste is the conductive material applied between your CPU (or GPU die) and its cooler. It fills microscopic imperfections, ensuring efficient heat transfer. Over time, or if applied incorrectly, thermal paste can dry out and lose effectiveness.
- Re-application: If your cooler is several years old, or if you’ve recently reseated it, reapplying high-quality thermal paste can yield noticeable temperature drops. This is a relatively inexpensive and straightforward upgrade.
- Quality Matters: Better quality thermal paste offers superior thermal conductivity.
4. Addressing GPU Cooling
While the CPU often gets the most attention, the GPU is another major heat producer, especially during gaming. Most GPUs come with capable cooling solutions, but sometimes they can be improved:
- Improved Case Airflow: As mentioned, better case airflow directly benefits the GPU by providing it with cooler air and helping to expel its exhaust more efficiently.
- Vertical GPU Mount: In some cases, vertically mounting the GPU can improve its access to fresh air, though this depends heavily on the specific case design and riser cable quality.
- Aftermarket GPU Coolers: For enthusiasts, there are aftermarket GPU air coolers and even GPU liquid cooling solutions (AIOs or custom loops) that can significantly reduce temperatures and often allow for higher overclocking.
5. Cable Management and Dust Maintenance
While not direct upgrades, these two practices significantly impact cooling performance:
- Cable Management: Poorly managed cables can obstruct airflow within your case, creating dead spots where hot air gets trapped. Neatly routing cables behind the motherboard tray allows for unobstructed air pathways.
- Dust Removal: Dust acts as an insulator, coating heatsinks and fans and severely impeding their ability to dissipate heat. Regular cleaning (every 3-6 months) with compressed air to remove dust from heatsinks, fans, and filters is crucial for maintaining optimal temperatures.

Conclusion
Optimizing your gaming PC’s cooling doesn’t have to be an overwhelming task. Starting with the most impactful changes, such as upgrading your CPU cooler, improving case fan setup, and ensuring good thermal paste application, can yield significant temperature reductions and restore your PC’s peak performance. Regular maintenance and attention to airflow will ensure your system runs cool and stable for years to come, allowing you to enjoy your games without the worry of thermal throttling.