


How to optimize Windows 11 for max gaming FPS and low input lag?
Windows 11, while offering a sleek new interface, can sometimes come with default settings that aren’t ideal for maximizing gaming performance. Achieving the highest possible FPS (Frames Per Second) and minimizing input lag are crucial for a competitive and enjoyable gaming experience. This guide will walk you through a series of adjustments to transform your Windows 11 system into a lean, mean, gaming machine.
System Performance Settings
Start by tweaking the core Windows settings designed to prioritize system resources for gaming.
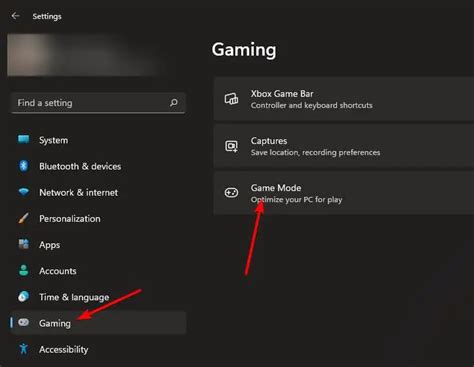
- Enable Game Mode: Windows 11 has a built-in Game Mode that, when active, optimizes your PC for gaming by suspending background tasks and allocating CPU and GPU resources to your game. Navigate to
Settings > Gaming > Game Modeand ensure it’s turned On. - Disable Focus Assist & Notifications: Notifications and background alerts can cause momentary hitches or distractions. Turn off Focus Assist (
Settings > System > Focus assist) or set it to ‘Alarms only’ during gaming. Also, consider turning off app notifications underSettings > System > Notifications. - Adjust Power Plan: A balanced power plan might conserve energy but won’t deliver maximum performance. Go to
Settings > System > Power & battery > Power modeand select ‘Best performance’. For even finer control, search for ‘Edit power plan’ in the Start Menu, then click ‘Change advanced power settings’ and ensure ‘High performance’ is selected or customize it for optimal CPU and disk performance.
Graphics and Display Optimization
These settings directly impact how your GPU renders games and how your display presents them.
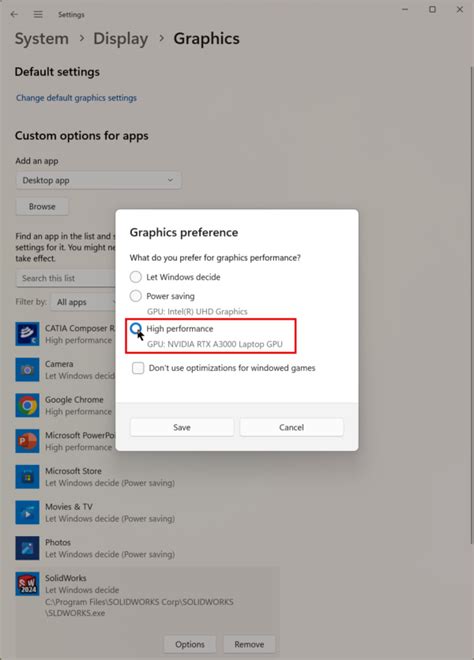
- Hardware-accelerated GPU Scheduling (HAGS): This feature can potentially reduce latency and improve performance in some games, though results can vary. To enable it, go to
Settings > System > Display > Graphics > Change default graphics settingsand toggle Hardware-accelerated GPU scheduling to On. A restart is typically required. - Variable Refresh Rate (VRR): If your monitor supports technologies like G-Sync or FreeSync, ensure VRR is enabled in Windows. This helps synchronize your monitor’s refresh rate with your GPU’s frame rate, reducing screen tearing and improving fluidity. You can find this under
Settings > System > Display > Graphics > Change default graphics settings. - Set Correct Monitor Refresh Rate: Always ensure your monitor is running at its maximum refresh rate. Go to
Settings > System > Display > Advanced display, and select the highest available refresh rate for your display.
Driver Management
Outdated or poorly installed drivers are common culprits for poor gaming performance.
- Update Graphics Drivers: This is paramount. Always download the latest drivers directly from NVIDIA, AMD, or Intel’s websites. Consider performing a clean installation (usually an option within the driver installer) to remove any potential conflicts from older versions.
- Update Chipset Drivers: Your motherboard’s chipset drivers are equally important for system stability and performance. Visit your motherboard manufacturer’s website or the chipset manufacturer (Intel/AMD) to get the latest versions.
Background Processes and Startup Programs
Many applications launch with Windows and run in the background, consuming valuable CPU, RAM, and GPU resources.
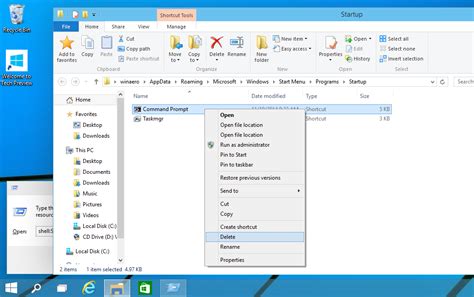
- Manage Startup Apps: Open Task Manager (
Ctrl + Shift + Esc), go to the ‘Startup’ tab, and disable any non-essential applications from launching with Windows. Keep critical system processes and security software enabled. - Close Background Apps: Before launching a game, manually close any applications you don’t need running, such as web browsers, chat clients, or media players. You can often see these in the system tray.
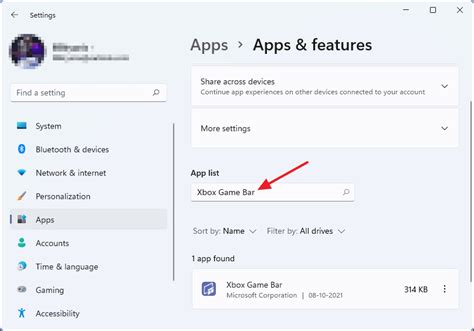
- Uninstall Unnecessary Software: Get rid of bloatware or applications you no longer use. Go to
Settings > Apps > Installed appsand uninstall anything that isn’t essential.
Visual Effects and Storage
Small tweaks to visual effects and maintaining your storage can also contribute to better performance.
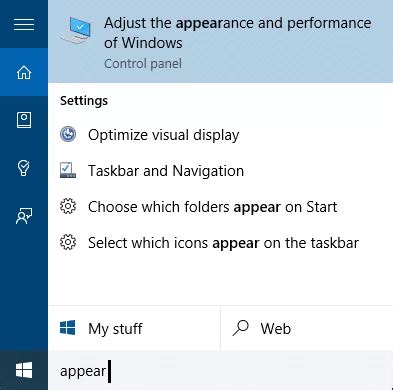
- Adjust Visual Effects for Performance: Windows 11’s fancy animations and visual effects consume resources. Search for ‘Adjust the appearance and performance of Windows’ in the Start Menu, then select ‘Adjust for best performance’ or customize to disable specific effects like ‘Animate windows when minimizing and maximizing’ or ‘Fade or slide menus into view’.
- Disk Cleanup: Regularly run Disk Cleanup to remove temporary files, old Windows updates, and other junk that can clutter your drive. Search for ‘Disk Cleanup’ in the Start Menu.
- Optimize Drives: For SSDs, ensure TRIM is enabled (it usually is by default). For HDDs, periodic defragmentation can improve load times. Search for ‘Defragment and Optimize Drives’ in the Start Menu and run the utility.
Network Optimization
While less about FPS, network lag (ping) can severely impact the gaming experience, especially in online multiplayer titles.
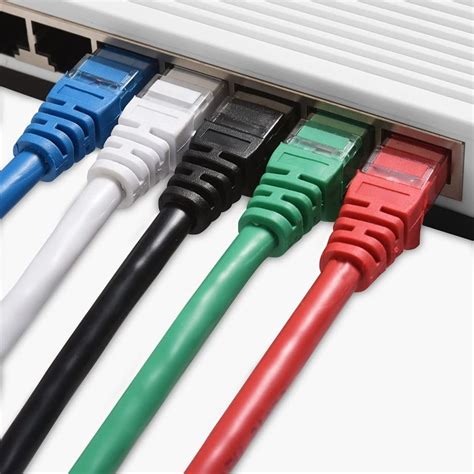
- Use Ethernet: Always prefer a wired Ethernet connection over Wi-Fi for online gaming. Ethernet offers lower latency and more stable bandwidth.
- Update Network Drivers: Ensure your Ethernet or Wi-Fi adapter drivers are up to date from the manufacturer’s website.
- Quality of Service (QoS): Some routers allow you to prioritize gaming traffic over other network activities. Check your router’s settings for QoS options.
Conclusion
By systematically applying these optimizations, you can significantly enhance your Windows 11 gaming performance, leading to higher FPS, smoother gameplay, and reduced input lag. Remember that the impact of each setting can vary depending on your hardware and the games you play. Experiment with these tweaks to find the perfect balance for your system, and always keep your drivers updated for the best possible experience.


