


My headset mic sounds muffled. What’s the best setup for clear comms?

Decoding the Muffled Mystery: Why Your Mic Sounds Unclear
There’s nothing more frustrating than trying to communicate with teammates or colleagues, only to be told your voice sounds like you’re speaking from inside a tin can. A muffled headset microphone can severely impact your gaming experience, virtual meetings, or streaming quality. Often, the culprit isn’t a faulty mic, but a combination of overlooked settings, improper setup, or environmental factors. Let’s dive into diagnosing and fixing this common issue to ensure your voice comes through loud and clear.
Diagnosing the Source of Muffled Audio
Before jumping to conclusions about a broken headset, it’s crucial to systematically check potential problem areas. The muffled sound could stem from several places, ranging from simple software glitches to minor hardware misconfigurations.
- Software Settings: Incorrect input volume, aggressive noise suppression, or an outdated audio driver can all distort your voice.
- Microphone Placement: If the mic isn’t positioned correctly, it won’t pick up your voice effectively, leading to a distant or muffled sound.
- Hardware Issues: A loose connection, a damaged cable, or even a dirty microphone head can degrade audio quality.
- Environmental Factors: Background noise, poor room acoustics, or even speaking too far from the mic can contribute to muddied audio.
Optimizing Your Software Settings for Clarity
Many muffled mic problems can be resolved by tweaking a few settings within your operating system and communication applications.
Operating System Sound Settings
For Windows Users:
- Right-click the speaker icon in your taskbar and select ‘Sound Settings’ or ‘Sounds’.
- Go to the ‘Recording’ tab, right-click your headset microphone, and select ‘Properties’.
- Under the ‘Levels’ tab, ensure your microphone volume is set high enough (e.g., 70-90) and that ‘Microphone Boost’ is not excessively high, as it can introduce static.
- In the ‘Advanced’ tab, set the default format to a higher quality, like ‘2 Channel, 16 bit, 48000 Hz (DVD Quality)’. Uncheck ‘Allow applications to take exclusive control of this device’.
- Under the ‘Enhancements’ or ‘Custom’ tab, disable any features like ‘Noise Suppression’, ‘Acoustic Echo Cancellation’, or ‘Beam Forming’, as these can sometimes over-process and muffle your voice.
For macOS Users:
- Go to ‘System Settings’ > ‘Sound’ > ‘Input’.
- Select your headset microphone.
- Adjust the ‘Input volume’ slider to an appropriate level.
- Check for any ‘Use ambient noise reduction’ options and consider disabling them for testing.
Communication Application Settings
Platforms like Discord, Zoom, or Microsoft Teams often have their own audio processing. It’s best to configure these to rely on your OS settings first, then fine-tune if needed.
- Discord: In ‘User Settings’ > ‘Voice & Video’, select your correct input device. Disable ‘Automatic Gain Control’ and set ‘Input Sensitivity’ manually. Experiment with disabling ‘Echo Cancellation’, ‘Noise Reduction’, and ‘Advanced Voice Activity’.
- Zoom/Teams: Access audio settings and ensure the correct microphone is selected. Look for and disable any software-based noise suppression or audio enhancements that might be over-aggressive.
Update Audio Drivers
Outdated or corrupted audio drivers can cause a myriad of sound problems. Visit your headset manufacturer’s website or your PC’s motherboard manufacturer’s website to download and install the latest audio drivers.
Perfecting Your Hardware Setup for Pristine Audio
Once software settings are optimized, turn your attention to the physical setup of your headset and microphone.
Microphone Placement is Key
Most headset mics are designed for ‘close talk’ operation. For optimal clarity:
- Position the mic boom: The microphone should be about 1-2 inches (2.5-5 cm) from the corner of your mouth.
- Angle it correctly: Angle it slightly away from directly in front of your mouth to avoid plosives (harsh ‘p’ and ‘b’ sounds), but still within the optimal pick-up range.
- Avoid obstructions: Ensure no clothing or hair is brushing against the mic.
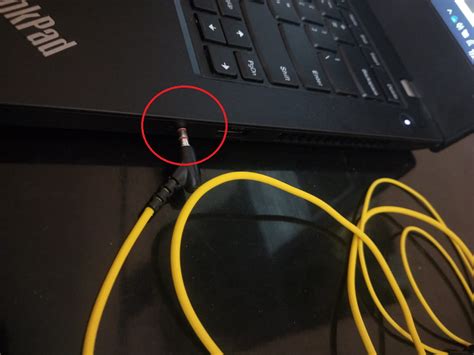
Check Connections and Cables
Ensure your headset’s cable is securely plugged into the correct port (if using 3.5mm jacks, make sure mic and headphone jacks are in their respective ports). If it’s a USB headset, try a different USB port. Inspect the cable for any visible damage or kinks.
Consider a Pop Filter or Foam Cover
Many headsets come with a foam windscreen. If yours doesn’t, or if the existing one is worn, adding a new foam cover can help reduce breath sounds and plosives, making your voice sound smoother, not muffled.
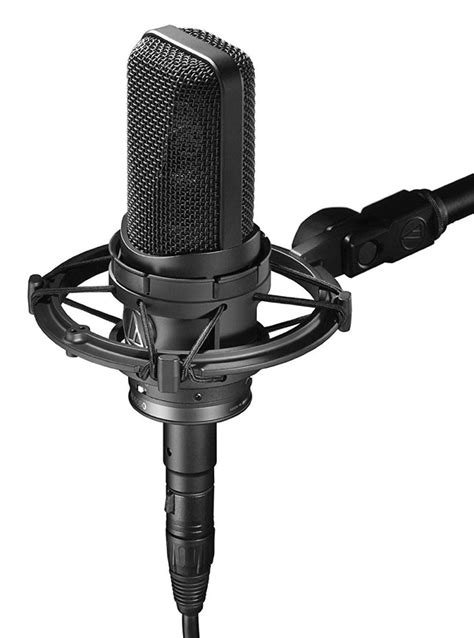
When to Consider an External Microphone
If after all these steps your integrated headset mic still sounds muffled, or if you’re seeking professional-grade audio, an external USB microphone (like a Blue Yeti or Rode NT-USB Mini) or a dedicated XLR microphone with an audio interface will offer significantly superior clarity and control. These mics are often less susceptible to environmental noise and offer a richer frequency response.
Environmental Considerations for Clear Comms
Your surroundings play a significant role in how your microphone picks up sound.
- Minimize Background Noise: Speak in a quiet environment. Close windows, turn off loud fans, and try to keep pets or other people from making noise during crucial communication.
- Room Acoustics: While not always feasible, a room with soft furnishings (carpets, curtains, upholstered furniture) will absorb sound reflections better than a bare, echoey room.

Advanced Tips for Pristine Voice Quality
For those looking to go the extra mile, these techniques can further refine your audio.
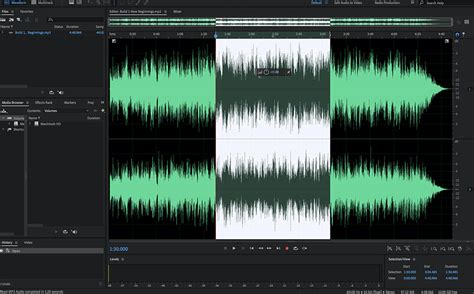
- Noise Gates and Compressors: Many communication apps or dedicated audio software offer these. A noise gate can eliminate background noise below a certain threshold, only opening when you speak. A compressor evens out your voice volume, making quiet parts louder and loud parts softer, ensuring consistent clarity.
- EQ Adjustments: Some software allows for equalization. A slight boost in the mid-range (around 1-4 kHz) can often enhance vocal clarity, but be careful not to overdo it, as it can sound unnatural.
Conclusion: Speak Up and Be Heard
A muffled headset mic is a common but solvable problem. By systematically checking your software settings, ensuring proper hardware placement, and being mindful of your environment, you can significantly improve your voice clarity. Don’t be afraid to experiment with settings and test your mic frequently with friends or using your operating system’s built-in recording features. With a little troubleshooting, you’ll be communicating with crystal-clear audio in no time.


