


Tangled gaming setup? Essential cable management tips for better airflow.

Why Cable Management is Crucial for Gamers
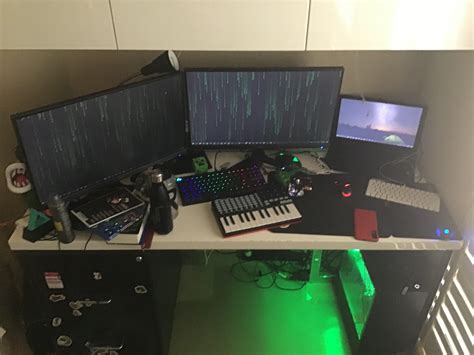
A tangled mess of cables behind your gaming rig isn’t just an eyesore; it’s a silent killer of performance and a harbinger of frustration. In the high-stakes world of PC gaming, every degree of cooling can count, and proper airflow is paramount. Overheating components can lead to thermal throttling, reduced lifespan, and unstable gameplay. Cable management isn’t just about aesthetics; it’s about optimizing your system’s efficiency and longevity.
Beyond performance, a clean setup offers numerous benefits. It simplifies maintenance, makes upgrading components easier, and creates a more focused and enjoyable gaming environment. No more fishing for the right cable or dealing with dust bunnies trapped in wire jungles. Let’s dive into how you can take control of your cables and unlock your setup’s full potential.
Gather Your Essential Cable Management Arsenal
Before you embark on your cable conquest, it’s wise to equip yourself with the right tools. A small investment here will save you significant time and headaches down the line. Here’s what you’ll need:
- Cable Ties: Velcro ties are fantastic for flexibility, allowing you to easily add or remove cables. Zip ties offer a more permanent solution but require cutting for changes.
- Cable Sleeves/Wraps: Perfect for bundling multiple cables into one sleek conduit, improving aesthetics and preventing tangles.
- Cable Clips/Channels: Adhesive clips or screw-in channels help route cables along desks, walls, or under surfaces, keeping them out of sight.
- Cable Management Boxes: Ideal for concealing power strips and their associated excess cable length, reducing clutter and dust accumulation.
- Double-Sided Tape & Mounting Squares: Useful for securing lighter power bricks or small hubs under your desk.
- Scissors/Wire Cutters: For cutting zip ties or trimming excess cable.

Step-by-Step Guide to a Tangle-Free Gaming Setup
Phase 1: Planning & Preparation
- Unplug Everything: Start with a clean slate. Disconnect all cables from your PC, monitor, and peripherals. This allows you to see the full scope of your cable situation.
- Assess Your Layout: Consider the placement of your PC, monitors, and peripherals. Where are the nearest power outlets? Where are the cable routing holes on your desk? Visualize the shortest and most discreet path for each cable.
- Label Your Cables (Optional but Recommended): For complex setups, small labels can save you future frustration when reconnecting or troubleshooting.
Phase 2: Execution – Grouping and Routing
- Group Similar Cables: Bundle power cables together, display cables together, and peripheral cables together. This makes for cleaner bundles and easier identification.
- Route Strategically:
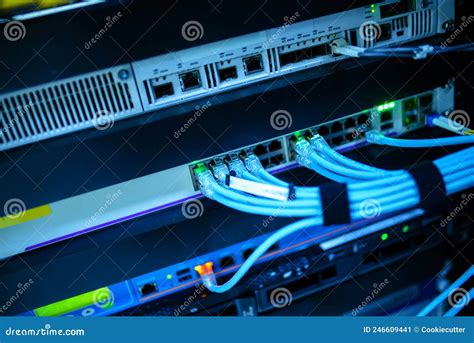
- Inside the PC: Use the cable routing cutouts in your PC case to hide power supply cables and front panel connectors behind the motherboard tray. This is critical for internal airflow.
- Behind the Desk: Utilize cable grommets if your desk has them. Route cables along the back edge or underside of your desk using clips or channels.
- Secure with Ties: Once cables are routed along their paths, use Velcro or zip ties to secure bundles. Don’t overtighten zip ties, as this can damage cables.
- Employ Sleeves and Wraps: For visible runs of multiple cables, slide them into cable sleeves or wraps for a professional, unified look.
- Manage Excess Length: Avoid leaving long loops of unused cable. Coil excess cable neatly and secure it with a tie, or tuck it into a cable management box.
Phase 3: Refinement & Testing
- Reconnect Systematically: Plug in your essential components first (PC power, monitor, keyboard, mouse), then gradually add peripherals.
- Test Functionality: Before everything is locked down, power on your system and ensure all components and peripherals are working correctly.
- Adjust and Optimize: Take a step back and look at your setup. Are there any visible cables that can be further hidden? Are there any spots where airflow is still obstructed? Make minor adjustments until you’re satisfied.
Advanced Tips for the Ultimate Clean Setup
- Invest in Monitor Arms: Many monitor arms include built-in cable management channels, further reducing visible wires.
- Utilize Wireless Peripherals: Going wireless for your keyboard, mouse, and headset instantly eliminates several cables.
- Modular Power Supplies: These allow you to use only the cables you need, reducing clutter inside your PC case significantly.
- Under-Desk Mounting: Use adhesive mounts or drill-in trays to keep power strips, USB hubs, or even small external hard drives completely off your desk surface.
- Wall-Mounted PC: For the truly adventurous, wall-mounting your PC case eliminates the need for it to sit on or under your desk, freeing up space and making cable runs to monitors much cleaner.

Reap the Rewards of a Tidy Rig
By investing a little time and effort into cable management, you’ll not only achieve a visually stunning gaming setup but also contribute significantly to your PC’s health and performance. Improved airflow means cooler components, which translates to a more stable, efficient, and longer-lasting gaming machine. Say goodbye to cable chaos and hello to a streamlined, high-performance battle station where every detail is in its place.