When should I replace my CPU’s thermal paste?
Thermal paste, also known as thermal compound or TIM (Thermal Interface Material), is a crucial component in any computer system, particularly for the CPU. Its primary role is to bridge the microscopic gaps and imperfections between the CPU’s integrated heat spreader (IHS) and the heatsink, facilitating efficient heat transfer away from the processor. Without it, heat would build up rapidly, leading to overheating, performance degradation, and potential damage to your CPU. Understanding when to replace this vital substance is key to maintaining a healthy and high-performing PC.
Understanding Thermal Paste’s Lifespan
While thermal paste might seem like a permanent solution, it does degrade over time. The exact lifespan varies significantly based on the type of paste, environmental conditions, and how intensely your CPU is used. Generally, the paste can dry out, crack, or lose its thermal conductivity, leading to less efficient heat transfer. Recognizing the signs of degradation is crucial.
Key Indicators for Replacement
Your computer often provides clear signals when its thermal paste is no longer performing optimally. Pay attention to these common symptoms:
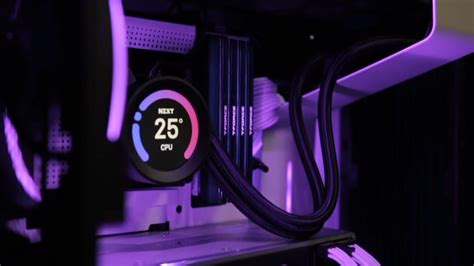
- Elevated CPU Temperatures: This is the most direct indicator. If your CPU temperatures are consistently higher than usual, especially under load (e.g., during gaming or video editing), it’s a strong sign the thermal paste is failing. Tools like HWMonitor, Core Temp, or NZXT CAM can help you monitor temperatures.
- Performance Throttling: To prevent damage from overheating, modern CPUs automatically reduce their clock speed (throttle) when temperatures get too high. This results in noticeable performance drops, lag, and stuttering, even in tasks that were previously smooth.
- Increased Fan Noise: If your CPU cooler’s fan is constantly spinning at high RPMs, even when the PC is idle or performing light tasks, it’s working harder to compensate for inefficient heat transfer. This often indicates a need for new thermal paste.
- Random Crashes or Freezes: In severe cases, extreme overheating can cause system instability, leading to blue screens of death (BSODs), unexpected shutdowns, or complete system freezes as a protective measure.
Proactive Replacement Guidelines
Even without obvious symptoms, there are situations and timeframes when replacing thermal paste is a good practice:
- Every 3-5 Years: As a general rule of thumb, most good quality thermal pastes should be replaced every 3 to 5 years. Cheaper or pre-applied pastes might degrade faster.
- When Removing the CPU Cooler: Any time you remove your CPU cooler (e.g., for cleaning, upgrading the cooler, or moving components), you must clean off the old paste and apply new thermal paste. Reusing old, compressed paste is highly inefficient.
- CPU Upgrades or Reinstallation: If you’re upgrading your CPU or reinstalling an existing one, always clean the old paste from both the CPU and the cooler and apply a fresh layer.
How to Check CPU Temperatures
Regularly monitoring your CPU temperature is the best way to catch issues early. Here’s how:
- Software Tools: Use reliable software like HWMonitor, Core Temp, HWiNFO64, or AIDA64 Extreme.
- Baseline Temperatures: Note your CPU’s idle temperatures (e.g., 30-45°C) and load temperatures (e.g., 60-80°C under heavy load, depending on the CPU and cooler). Significant deviations from these baselines, especially sustained high temperatures (90°C+), indicate a problem.

The Replacement Process (Briefly)
Replacing thermal paste involves a few key steps:
- Preparation: Shut down your PC and unplug it. Gather necessary tools (screwdriver, thermal paste, cleaning solution like isopropyl alcohol, lint-free cloths).
- Remove Cooler: Carefully unmount the CPU cooler.
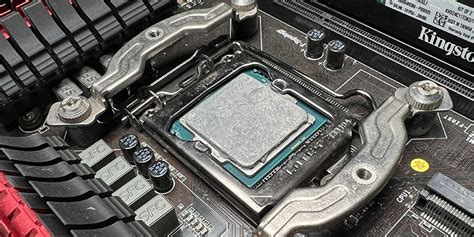
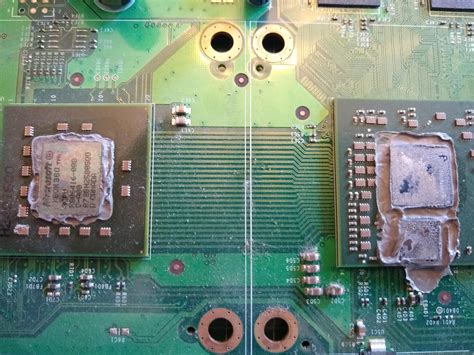
- Clean Old Paste: Use isopropyl alcohol and a lint-free cloth to thoroughly clean all old thermal paste from both the CPU’s IHS and the cooler’s baseplate. Ensure no residue remains.
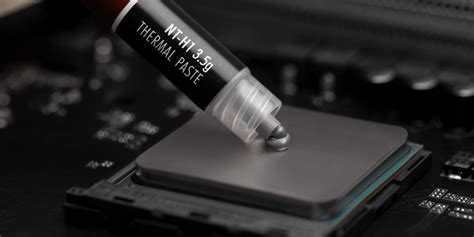
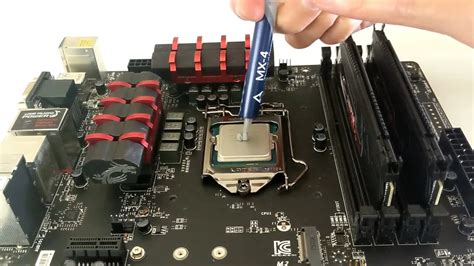
- Apply New Paste: Apply a small, pea-sized dot or a line (depending on the CPU and cooler design) of new thermal paste to the center of the CPU’s IHS. Avoid applying too much.
- Remount Cooler: Carefully reattach the CPU cooler, ensuring even pressure.
- Test: Boot up your PC and monitor temperatures to confirm the issue is resolved.
Conclusion
Maintaining your CPU’s thermal paste is a simple yet vital aspect of PC maintenance that directly impacts its performance, longevity, and stability. By paying attention to temperature fluctuations, system performance, and general age, you can ensure your CPU remains cool and operates at its peak efficiency. Don’t wait for your system to crash; proactive thermal paste replacement is an easy way to safeguard your investment.