


Essential tips for safely cleaning your gaming PC’s fans and components?
A well-maintained gaming PC not only looks good but performs better and lasts longer. Dust, pet hair, and other debris can accumulate rapidly, especially in a high-performance machine with numerous fans, leading to increased temperatures, reduced performance, and even hardware failure. Regularly cleaning your PC’s fans and internal components is a crucial aspect of PC ownership, but it must be done safely and effectively. This guide will walk you through the essential tips to ensure your cleaning process is thorough and prevents any damage to your valuable hardware.
Why Regular PC Cleaning is Crucial
Gaming PCs generate a significant amount of heat, which is dissipated by an array of fans pulling air through the case, over heatsinks, and out again. This constant airflow inevitably draws in dust and particulate matter, which then settles on components and clogs fan blades and heatsink fins. An accumulation of dust acts as an insulator, trapping heat and forcing your components, such as your CPU and GPU, to run at higher temperatures. This thermal throttling can lead to decreased frame rates, system instability, and a shortened lifespan for your expensive hardware. A clean PC runs cooler, quieter, and more efficiently.
Preparation and Safety First
Before you even think about opening your PC case, proper preparation and safety measures are paramount. Rushing this step can lead to static discharge damage, physical harm to components, or even electrical shock.
Gather Your Tools
- Compressed Air: Essential for blowing dust out of tight spaces. Use short bursts and keep the can upright to prevent propellant discharge.
- Anti-Static Wrist Strap: Highly recommended to prevent electrostatic discharge (ESD) which can irreversibly damage components.
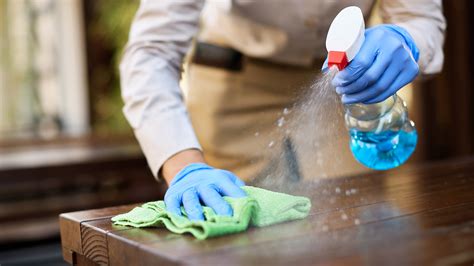
- Microfiber Cloths: For wiping down surfaces without leaving lint.
- Soft-bristled Brush (e.g., anti-static brush, clean paintbrush): Great for dislodging stubborn dust.
- Screwdriver Set: To open your PC case and potentially remove components.
- Isopropyl Alcohol (90%+ purity): For cleaning thermal paste or stubborn grime on specific components (use sparingly and with caution).
- Vacuum Cleaner (with caution): Can be used for external dust around the PC, but NEVER inside due to static risk.
Safety Precautions
- Power Down Completely: Shut down your PC, unplug it from the wall, and press the power button a few times to discharge any residual power.
- Disconnect Peripherals: Unplug all cables – power, monitor, USB devices, etc.
- Move to a Clean, Well-Ventilated Area: Preferably outdoors or in a garage, as cleaning will release a lot of dust.
- Ground Yourself: Wear an anti-static wrist strap connected to a bare metal part of your PC case. If you don’t have one, frequently touch a grounded metal object before touching any components.
Cleaning Your PC’s Fans
Fans are the primary culprits for dust accumulation and are often the easiest to clean. Be gentle and support the fan blades while cleaning to prevent damage to the bearings.
Case Fans
Remove the side panel(s) of your PC case. Using compressed air, blow dust off the fan blades and grills. Hold the fan blades in place with your finger or a soft brush to prevent them from spinning rapidly, which can damage the bearings or generate static electricity. Work from the inside out, directing dust away from the other components and out of the case.
CPU Cooler Fan (and Heatsink)
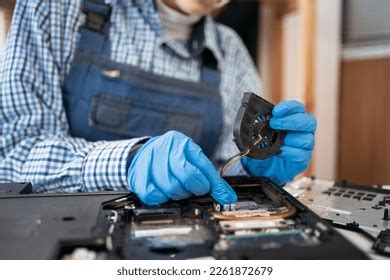
This is often the most critical fan due to its direct impact on CPU temperature. If possible, gently unclip or unscrew the fan from the CPU heatsink. Use compressed air to thoroughly clean both the fan blades and the fins of the heatsink. A soft brush can help dislodge compacted dust between the fins. If the heatsink itself is heavily clogged, carefully brush it clean, blowing dust away. Do NOT remove the entire CPU cooler unless you intend to reapply thermal paste.
Graphics Card (GPU) Fans
GPU fans can be tricky. Some GPUs allow for easy removal of the fan shroud, but for most, you’ll be cleaning them while they’re still mounted. Again, hold the fan blades to prevent spinning and use short bursts of compressed air to clear dust from the blades and the heatsink fins underneath. Be extra careful not to bend any delicate components on the GPU board.
Cleaning Other Critical Components
Beyond the fans, various other components also gather dust and benefit from a careful cleaning.
Radiators and Heatsinks (Liquid Cooling)
If you have an AIO (All-In-One) liquid cooler or a custom loop, the radiator fins can become heavily clogged. Use compressed air to blow through the fins, preferably from the side that the air exits, to push the dust out. A soft brush can help with stubborn grime.
Motherboard and RAM
Use very gentle, short bursts of compressed air to dust off the motherboard surface, RAM sticks, and expansion slots. Avoid direct, powerful blasts, especially near small surface-mounted components. A soft brush can be used carefully to sweep dust away from intricate areas. Do NOT touch the gold contacts on RAM sticks or expansion cards.
Power Supply Unit (PSU)
The PSU also has a fan and vents that can accumulate dust. For safety reasons, it’s generally best NOT to open the PSU itself, as it can retain a dangerous electrical charge even after unplugging. Instead, use compressed air to blow dust out of the external vents and the fan grill. Direct the air away from the interior of the case. If the PSU is extremely dusty internally, it’s safer to have a professional clean it or consider replacement.
Reassembly and Post-Cleaning Checks
Once all components are clean, carefully reassemble your PC. Double-check all fan connections, power cables, and data cables to ensure they are securely seated. Replace the side panels. Before powering on, do a quick visual inspection to ensure no tools or foreign objects are left inside the case.
Plug in your peripherals and power cable. Turn on your PC. Listen for any unusual noises and monitor your temperatures using software like HWMonitor or MSI Afterburner to ensure everything is running optimally. You should notice lower temperatures and potentially quieter fan operation.
Frequency and Best Practices for Dust Prevention
The frequency of cleaning depends on your environment. If you have pets, carpet, or live in a dusty area, you might need to clean every 3-6 months. For cleaner environments, once a year might suffice. Here are some tips to minimize dust buildup:
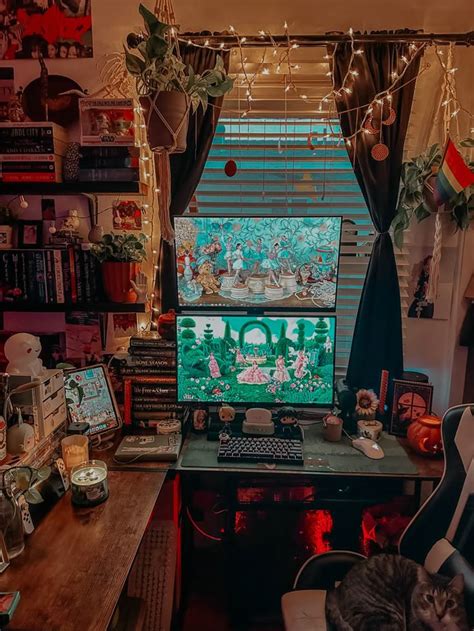
- Elevate Your PC: Placing your PC on a desk rather than directly on a carpeted floor can significantly reduce dust intake.
- Dust Filters: Ensure your case has dust filters, especially on intake fans, and clean these filters regularly.
- Positive Air Pressure: Configure your fans to have slightly more intake airflow than exhaust airflow, creating positive pressure, which helps prevent dust from entering through unfiltered gaps.
- Clean Your Room: A cleaner room means less dust for your PC to ingest.
Conclusion
Cleaning your gaming PC’s fans and components is a straightforward yet critical maintenance task that can dramatically improve your system’s performance, stability, and lifespan. By following these essential safety tips and cleaning procedures, you can keep your machine running cool and quiet, ensuring countless hours of uninterrupted gaming pleasure. Remember, a little regular maintenance goes a long way in protecting your investment.


