How do I properly manage gaming PC cables for better airflow and aesthetics?

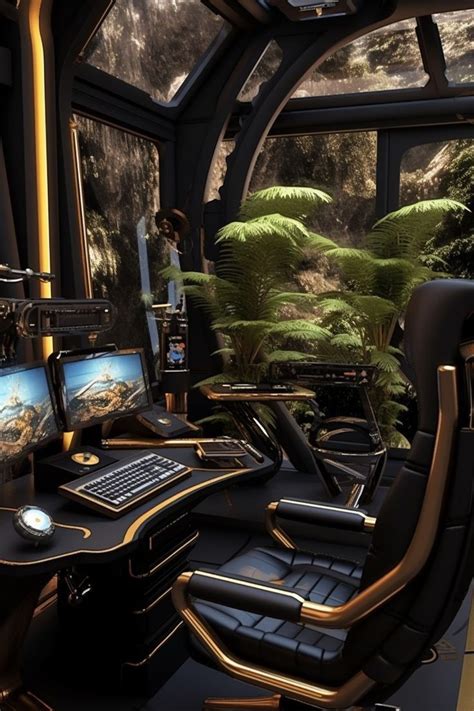
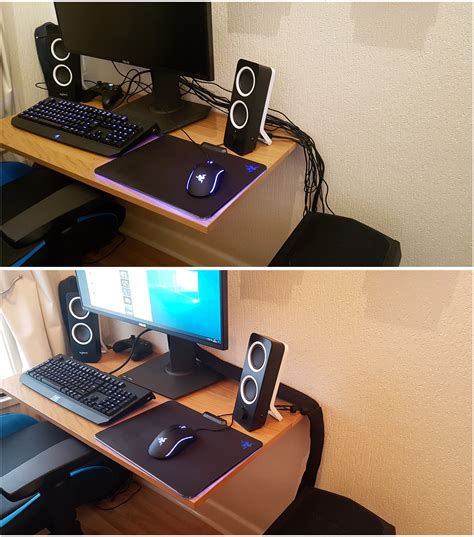
For any gaming PC enthusiast, a tidy internal setup is a badge of honor. Beyond the satisfying visual appeal, proper cable management plays a crucial role in optimizing your system’s performance and longevity. Tangled wires can impede airflow, trap dust, and make future upgrades a nightmare. This guide will walk you through the essential steps to transform your PC’s interior into a clean, airflow-friendly masterpiece.
Why Cable Management Matters
The benefits of a well-managed PC interior extend far beyond mere aesthetics. Firstly, it significantly improves airflow. Cluttered cables act as obstacles, disrupting the smooth flow of cool air into and hot air out of your case, leading to higher component temperatures. Better airflow means cooler CPU and GPU temperatures, which can prevent thermal throttling and extend the lifespan of your components.
Secondly, a clean build is easier to maintain. Dust accumulates less on organized cables, and cleaning becomes a simpler task. Troubleshooting also becomes much quicker when you can easily trace each connection. Finally, let’s not discount the visual satisfaction – a beautifully organized interior is a point of pride and enhances the overall premium feel of your gaming rig.
Essential Tools and Planning
Before you dive in, gather your arsenal of cable management tools:
- Zip Ties or Velcro Straps: Zip ties offer a more permanent hold, while Velcro straps provide flexibility for future adjustments.
- Cable Combs: These plastic clips keep individual GPU or PSU cables neatly aligned, especially for visible runs.
- Scissors or Cable Cutters: For trimming excess zip tie ends.
- Small Screwdriver Set: For opening your PC case and detaching components.
- Cable Extensions (Optional): If your PSU cables are too short or not aesthetically pleasing, custom extensions can be a game-changer.
- PSU Shroud (If applicable): Many modern cases include one; utilize it to hide the PSU and its unruly cables.
Planning is key: Disconnect all power to your PC. If you’re building a new PC, it’s easier to route cables as you install components. For an existing build, consider removing components like the GPU and storage drives to gain better access to routing channels.
The Step-by-Step Cable Routing Process
1. Power Supply Unit (PSU) Cables
This is often the most challenging part due to the sheer volume of cables. Ideally, route all PSU cables through the back panel of your case immediately. Modular PSUs make this easier as you only connect the cables you need. Feed the main 24-pin ATX power cable, CPU power (4+4 pin or 8-pin), and PCIe power cables (for your GPU) through designated cutouts closest to their respective ports on the motherboard and GPU.
2. Motherboard and CPU Cables
- 24-pin ATX: Route this from the back panel directly to the motherboard connector. Try to keep its path as straight and flat as possible.
- CPU Power (EPS): This cable usually runs along the top edge of the motherboard, often through a cutout at the top-left of the case. Ensure it doesn’t sag or obstruct any fans.
3. Graphics Card (GPU) Cables
PCIe power cables should be routed from the back panel, emerging cleanly near the GPU’s power connectors. Use cable combs if you have multiple PCIe power cables to keep them parallel and neat.
4. Storage and Front Panel Cables
- SATA Power/Data: Route these from behind the motherboard tray to your SSDs or HDDs. Modern cases often have dedicated mounting points behind the tray, minimizing visibility.
- Front Panel Connectors: USB 3.0, USB 2.0, audio, and the small power/reset/LED cables should be routed along the bottom or side edges of the motherboard tray, connecting to their respective headers. Bundle these tiny wires together for a cleaner look.
5. Fan Cables
Connect your case fans to motherboard headers, routing their cables along the case edges or behind the motherboard tray. If you have many fans, a fan hub can consolidate their cables into one or two connections to the motherboard, greatly simplifying management.
Optimizing for Airflow and Visual Appeal
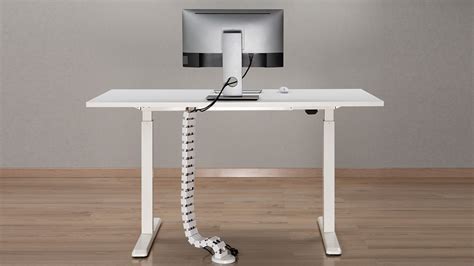
Once all cables are connected, it’s time to refine. Use zip ties or Velcro straps to bundle cables together at strategic points along their routes in the back panel. Avoid over-tightening zip ties, which can damage cables. Ensure no cables are obstructing fan blades or air intake/exhaust points.
For visible cables, such as the 24-pin ATX and PCIe power, aim for straight, parallel lines. Cable combs are invaluable here. If your case has a PSU shroud, use it to its full potential by tucking away excess cable length and connectors underneath. This creates a much cleaner main chamber.

Final Touches and Long-Term Benefits
Take a step back and examine your work. Are there any loose ends? Can any cable be tucked away further? Remember, cable management is an iterative process. Velcro straps are particularly useful for areas you might need to access frequently, like adding a new drive.
A well-managed PC interior doesn’t just look good today; it makes future upgrades and troubleshooting significantly easier. You’ll spend less time untangling wires and more time enjoying your high-performance, aesthetically pleasing gaming rig. Plus, with improved airflow, your components will thank you with lower temperatures and potentially a longer lifespan.